Break Everyones Ankles Moves Tier List
Community-style grades for offensive tools on the neon park court.
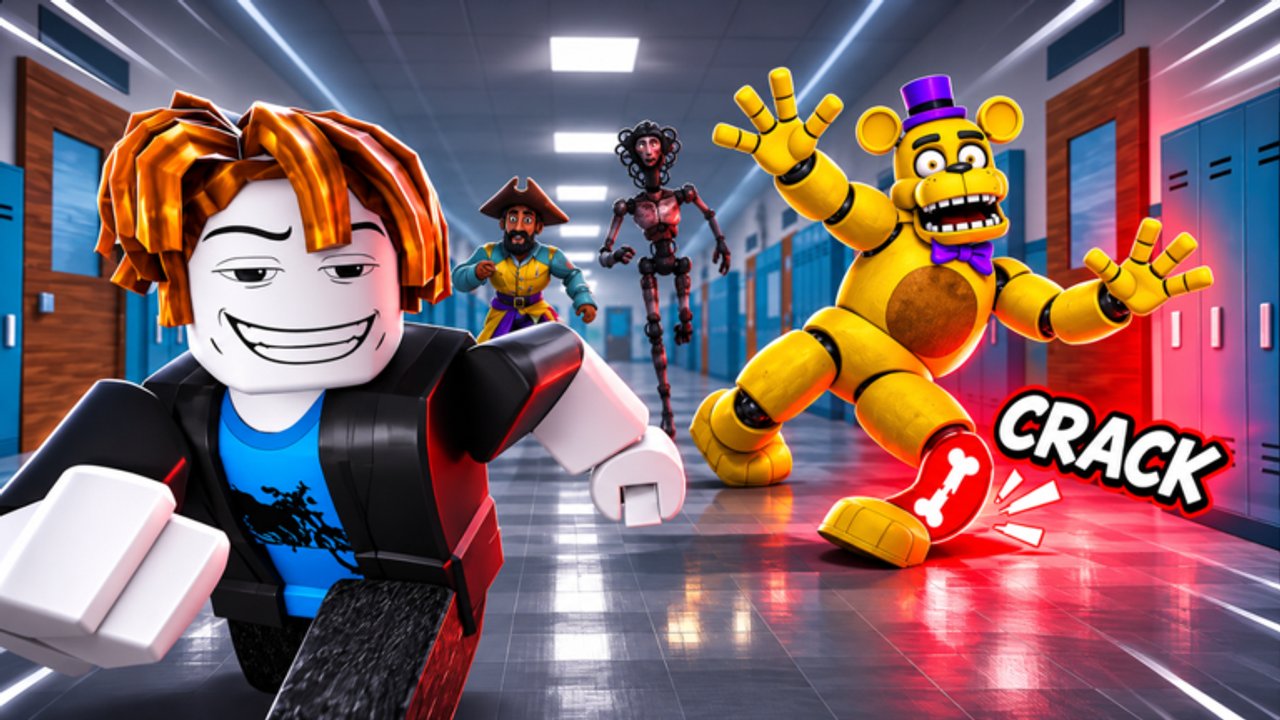
This moves tier list ranks common offensive tools players lean on in BREAK ANKLES!: crossover, hesitation, spin, drive, pull-up, and related setups. These grades are community opinion, not an official balance table from the Break Ankles! group. Your ping, camera comfort, and the defender in front of you can flip any matchup. Use the list as a practice roadmap, then prove it in warmups before you chase highlight clips.
For execution details, pair this page with how to ankle break and controls. For loadout and currency focus, see players builds. Cosmetics never change move hit windows—keep drip talk on the cosmetics tier list.
Ranking criteria
We score moves on three practical axes:
- Consistency — How often the move creates space or a clean ankle-break window against average defenders on 10-player servers.
- Stamina / resource cost — Whether repeating the move leaves you empty when you need a finish or a defensive recovery.
- Risk — Chance of a turnover, whiff, or readable telegraph when skilled players bait you.
A move that is flashy but drains you every possession drops a tier even if the clip looks great. A boring crossover that works under pressure climbs.
S-tier (community favorites)
Crossover (basic and chained) — Widely cited as the safest opener. Easy to time after a few warmups, low telegraph if you mix speeds, and pairs into drive or pull-up. Strong for Wins farming because you can spam it without burning the whole stamina bar.
Hesitation into drive — High value when defenders jump early. The pause sells a shot or pass fake, then the drive attacks the recovered lane. Consistency rises once you stop hesitating on a fixed rhythm; vary the hold length.
These two sit at the top for most public lobby skill levels. Lab them until they feel automatic, then add spice.
A-tier (strong with practice)
Spin — Excellent for escaping body-up pressure and creating ankle-break angles near the arc. Risk climbs if you spin into help or spam the same direction. Stamina cost is moderate; save it for contested possessions rather than every touch.
Pull-up after a jab or hesitation — Punishes defenders who backpedal too far. Timing windows matter more than raw animation length. Great Streak tool when you need a quick score instead of a full drive.
Drive with a late crossover exit — Combines pace and a finishing direction change. A-tier because the setup needs clean footwork; botched exits are easy to strip.
B-tier (situational)
Behind-the-back / fancy chain dribbles — Stylish and useful against over-aggressive reachers, but high risk in traffic. Save for one-on-one moments or when you already lead the Streak.
Early spin on catch — Can freeze a closeout, yet many defenders expect it. Better as a surprise than a primary move.
Stationary hesitation spam — Works once or twice; collapses when opponents stop biting. Demote it in your personal kit if conversion rate falls.
C-tier (niche or high risk right now)
All-in highlight combos — Long multi-spin or multi-cross chains that empty stamina and broadcast your plan. Fun for clips; poor for steady Wins.
Predictable pull-up from the same spot — Community lobbies learn your hotspot fast. Mix locations or drop to a drive.
Panic moves after a missed read — Random spin or cross with no setup. Rarely breaks ankles; often breaks your possession.
C-tier is not “never use.” It means practice these last, and do not spend early Cash or attention optimizing them.
How to apply the list in a session
- Warm up with S-tier crossover and hesitation for five minutes before ranked-feeling games.
- Add one A-tier move per session until timing sticks.
- Film or mentally note which B-tier tools actually convert against your usual servers.
- Ignore C-tier until your Streak and Win rate feel stable.
If a patch changes animation speed or stamina, re-test S and A first. Check updates and patch notes when something suddenly feels off.
Builds and player habits
Move tiers interact with how you progress. Early accounts should master S-tier tools while farming Cash and learning server etiquette on the players hub. Mid-game players can specialize—spin-heavy creators versus pull-up streak hunters—using notes on players builds. Late-game flex is still earned with Wins, not with Shop jerseys alone.
Reading defenders matters as much as the animation name. Watch whether they lunge on the first hesitation, shade you baseline, or sit on the pull-up. The how to ankle break guide covers bait patterns; this page only ranks the tools you bring into those patterns.
Honest limits
Public footage and lobby chat drive these grades. BREAK ANKLES! launched in October 2026, so the meta is young. If your friend group swears by a B-tier spin on high-ping servers, believe your results. Update personal tiers after every meaningful patch, and never treat a wiki letter as a substitute for reps on the neon court.
Cross-link next steps: refine inputs on controls, spend currency wisely via cosmetics, and keep progress goals aligned with rebirth guide timing once Wins feel consistent.
Frequently Asked Questions
Quick answers to the most common questions.
Is the moves tier list official?
No. It is community opinion based on public play. Live patches can change move feel overnight.
What should beginners practice first?
Start with crossover and hesitation-into-drive. They are consistent, lower risk, and support Wins while you learn the court.
Do cosmetics change move strength?
No. Hair, shoes, and jerseys are visual. Prioritize move timing before Shop flex.
Why is a flashy combo ranked C-tier?
Long highlight chains often cost stamina and telegraph your plan. They are fun for clips but weak for steady Streaks.
Where can I learn the inputs?
Use the controls guide and the how to ankle break guide, then return here to prioritize which moves to lab.